Taming unruly logo sections
Lyubomir Popov
on 30 April 2021
Tags: Design , logo section , Vanilla , vanilla framework
Making logo sections can be tricky. Logos come in all shapes and sizes, and without proper care, it is easy to end up with a poorly balanced layout.
The problem has two aspects:
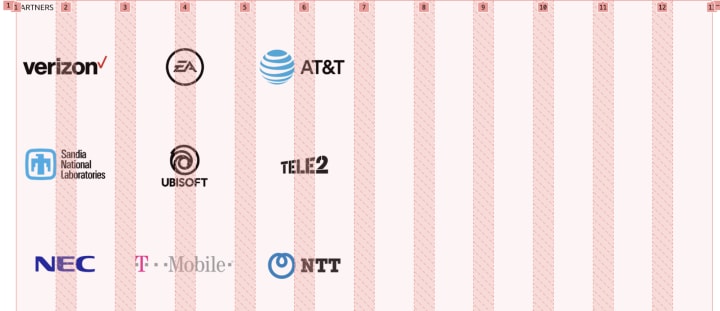
- Creating a responsive section that respects the layout structure of the page it is part of, which in most cases means being aligned to a 12 column grid; but also one that self-centers odd numbers of logos on a row (for example, if you had 7 logos, you wouldn’t want 6 logos on one line followed by one left-aligned logo on the second line)
- Image sizing: adjusting individual logos’ size and position within their bounding box in order to make them appear well balanced
Until recently, achieving the layout aspect with Vanilla was a laborious endeavour, as it required a lot of classes to cover all breakpoints, and was prone to error unless you’re proficient at using the grid. As a designer, I don’t mind fiddling with the markup until I get it to behave the way I want, but I can understand why developers aren’t too keen to do it. As a result, this approach never got traction and my implementation on the maas.io homepage remains the only example in production as of this writing.

Another inconvenience was the need to add push classes (again, per breakpoint) to center odd numbers of logos on the 12 column grid:

Instead, most logo clouds built with Vanilla relied on our (now deprecated) inline images component, which simply clamps logo sizes with a min-width and a max-width, but makes no attempt at balancing them or respecting the overall grid layout of the page:
The inline images component in action – an irregular shaped cloud of logos at varying scales:

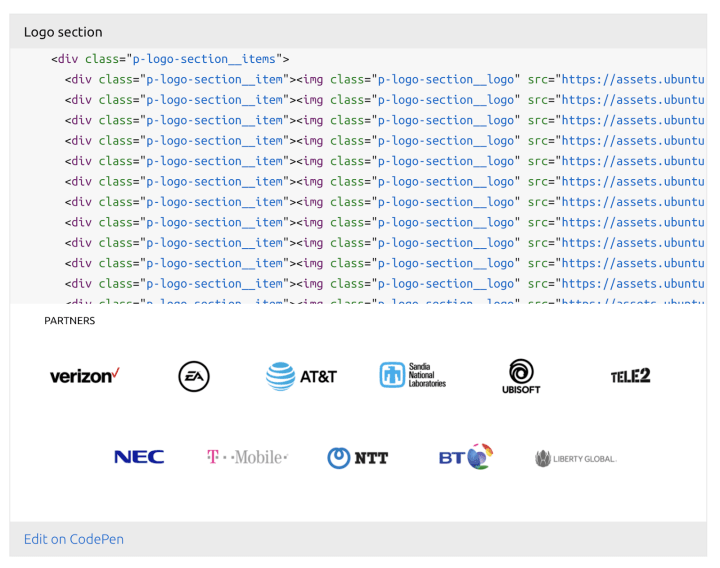
The new logo section
The 2.28 release of Vanilla includes a new logo section that aims to remedy those issues.
- It is simple to use, requiring minimal markup and no knowledge of the inner workings of the grid. This means a developer can simply copy-paste it from the vanilla example page and change the logo image files.

- It sizes logos so they span either 1 or 2 grid columns depending on the breakpoint, but it uses a flex container instead of a grid one, as this simplifies centering odd numbers of logos
- It works seamlessly when nested in fewer than 12 columns, meaning you can drop it in a 6-column container for example, with no need to adjust anything

- Unlike the inline images component, which required hiding the logos on smaller screens as they looked unreasonably large, the logo section resizes nicely all the way down to a small phone-sized screen:

Harmonising logos of arbitrary shapes and proportions
The second aspect of taming logo sections involves a lot of judgement calls, but there are a few guiding principles that make it a more or less straightforward process. The goal is to introduce some sense of order by:
- Establishing a common baseline and aligning wordmarks to it
- Adjusting sizing to achieve comparable perceived “weight”. This is a balancing act involving various properties like overall surface area of a logo, contour thickness of the elements within it, color values, etc.
- Where possible, “curating” the order of logos to achieve an optimal rhythm in terms of shapes, colours and white space
But first, why bother with all of that? What happens if you simply download a bunch of logos and resize them to the same height or width?
Logos resized to the same height. Far from ideal:

Resizing to the same width is equally unacceptable:

So how do we go about improving this situation?
Establishing a common baseline
Most logos feature a wordmark. We can take advantage of this and establish a common baseline:

With the baseline in place, we’d ideally want to scale the wordmarks to roughly the same height. To do this, we need to select a goal height to resize to – in the example above this is illustrated by the “Ag” letter pair.
But this leads to a problem – depending on how tall our goal height is, some logos won’t fit, or others will become too small. At this point it’s an iterative process of adjusting the goal height until most logos fit comfortably within the bounding box.
It’s worth noting that the longest wordmark isn’t always the best choice for goal height, as that would make other logos tiny. In my experience, it is best to find a size that works for the majority of the cases, and not worry about outliers too much.
Setting the goal height to match a very long wordmark like AstraZeneca makes other logos tiny:


Picking a height that suits Lenovo, Sandisk and arm works better:

Adjusting sizing to achieve comparable perceived “weight”
With the wordmarks resized to a more or less coherent height, we now need to focus on shapes, surface area coverage, and colour values. All of these add up to the perceived “weight”, which we want to make as similar as possible.
Surface area templates
Most logos roughly fit into 3 categories: an elongated rectangle (all of the logos above fit in this category), a circle, or a square. I keep these 3 shapes, resized to have precisely the same surface area, as a reference.
Equal surface area templates on the right. Logos fitted to these shapes on the left:

The usefulness of this step depends a lot on colour values and surface area coverage. For example, the Windows and HP logos above have similar colour values, but the Windows logo has a slightly larger surface area. On the other hand, the HP logo is darker, so despite the smaller coverage, it actually feels heaviest among the three.
Compared to the Texas instruments logo, they both look far too large – because of the low surface area coverage of the last logo.
To compensate, we might do something like this:

A similar comparison of two circular logos: The lower coverage of the DELL logos mean it needs to be bigger to appear well balanced with the HP logo:

The same technique can be used to compensate for darker values – below, the DELL logo is slightly larger than the ABC logo.

But what if you have round logos only? In this case, having a consistent size is more important than precisely balancing based on coverage and colour values. Instead, we can improve the balance by placing the heaviest logo (the black one) in the middle, and keeping all logos at the same size:

Curating the order of logos
As a final step, if the order of the logos is up to the designer (sometimes it might be dictated by the nature of the relationships with the companies behind these logos), we can further increase balance by introducing different rhythms – alternations of colors, narrow vs wide, rounded vs angular, etc.
To wrap up, here’s a before / after comparison of an existing logo section on canonical.com:

Talk to us today
Interested in running Ubuntu in your organisation?
Newsletter signup
Related posts
Improving our web page creation workflow: how structured content is slashing design and development time
Co-authored with Julie Muzina A year ago, during our Madrid Engineering Sprint, we challenged ourselves to dramatically reduce, or even eliminate, the need...
Showcasing open design in action: Loughborough University design students explore open source projects
Last year, we collaborated with two design student teams from Loughborough University in the UK. These students were challenged to work on open source project...
Design and Documentation clinics at FOSDEM Fringe 2026
FOSDEM is one of the biggest and most exciting open source events of the year, held at the Solbosch campus of the Université Libre de Bruxelles (Brussels),...
